

Overview
Create a Client record to begin organized claim-preparation work for a veteran. Start in Contacts, confirm that the Client does not already exist, then add the information presented in the Client form.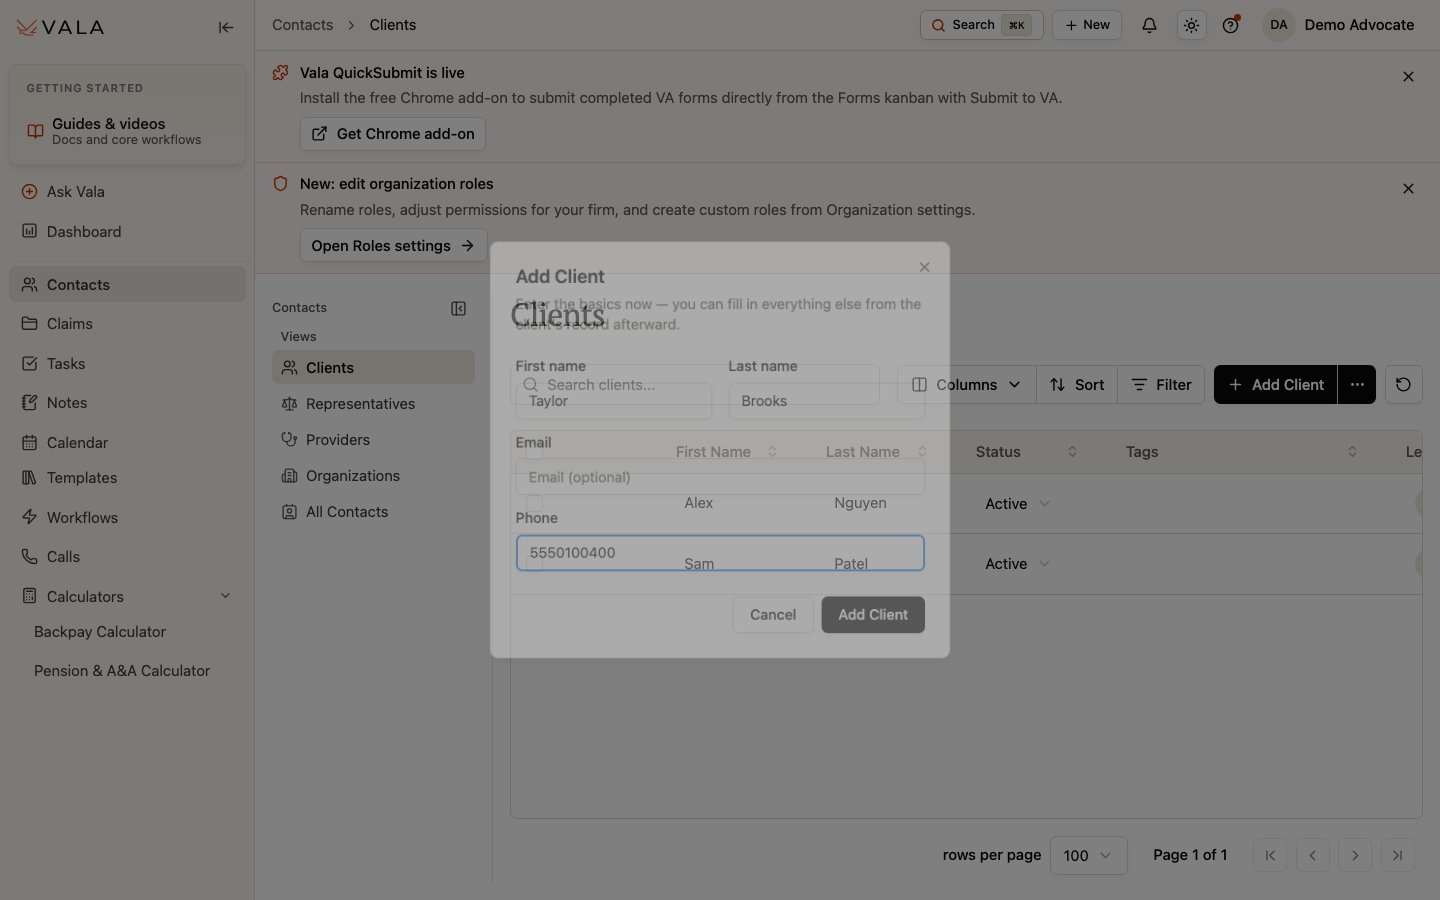
Before you begin
- Confirm you are working in the correct organization.
- Gather only the information your organization is authorized to process.
- Check for an existing Client to avoid creating a duplicate.
Add a Client
1
Open Contacts
Select Contacts in the global navigation.
2
Use Clients
Select Clients, which is the default Contacts view.
3
Check first
Search for the veteran and review possible matches before creating a new record.
4
Select Add Client
Select Add Client.
5
Complete the form
Enter the Client information currently presented. First name and last name are required. Email and phone are optional.
6
Save
Select Add Client to save the record.
7
Continue in the Client record
Open the Client record and continue with the appropriate workflow, often Documents or other intake work.
Vala can surface possible matching Clients while you add a Client. Review those matches before continuing. Use Add Anyway only when you have confirmed that this should be a separate Client.
Best practices
- Verify names and contact information against an approved source.
- Add information incrementally if your organization does not yet have every detail.
- Review the Client record after saving to make sure you are in the correct matter.
Related pages
Client record overview
Understand the Client record tabs.
Documents
Continue with records and supporting material.